Identity and enrollment
Atomic OSSEC can correlate agent enrollment using a persistent endpoint UUID stored on each agent and, optionally, an endpoint UID supplied during registration. This allows mixed or UID-aware fleets and helps resolve duplicate hostnames when the manager is configured accordingly.
Agent endpoint UUID file
Each supported agent maintains a single-line file containing its endpoint UUID under the agent installation root:
Linux:
/var/ossec/etc/uuidWindows: under the agent
etcdirectory (for example...\\ossec-agent\\etc\\uuiddepending on install path).
Do not edit this file under normal operation; it is created and maintained by the agent software.
Optional endpoint UID enrollment
When using enrollment flows that support it, the manager may accept an optional enrollment token that carries an endpoint UID (for example UID:'<endpoint_uid>' in the registration exchange). Whether this is required or optional depends on manager identity settings (see below).
The manager stores identity-related fields for each agent in its global database (for example endpoint_uid, identity_source, and identity timestamps) so administrators can audit how an agent was enrolled.
Manager identity modes (auth.identity_mode)
These settings are configured in the manager internal options (not in the main ossec.conf agent blocks). Typical values:
- legacy
Enrollment behaves as in earlier releases: duplicate agent names are handled according to legacy rules.
- mixed
UID-aware enrollment is allowed when the agent presents a UID, with fallback for agents that do not.
- uid_strict
Enrollments without a UID may be rejected except where explicitly allowed by policy.
Related setting: ``auth.legacy_duplicate_name_policy`` controls how duplicate names are handled when operating with legacy or mixed semantics (for example reject, allow with manual ID, or suffix).
Operational guidance
Upgrade the manager to a release that includes the global database schema and auth changes before relying on UID-based enrollment.
Start with mixed mode while both legacy and new agents are in the fleet; move to uid_strict only after enrollment coverage meets your policy.
To return to classic behavior, set legacy mode; database fields introduced for identity remain compatible.
For detailed rollout steps in large environments, contact Atomicorp Support.
OpenID Connect (SSO)
Atomic OSSEC (AEO) supports Single Sign-On (SSO) via OpenID Connect. A list of certified providers is available at https://openid.net/developers/certified/
Requires
AEO 6.0.0+
OpenID Connect server
AEO registered as a client with your OpenID Connect server
Overview
This integration uses the OpenID Connect protocol for SSO and web console authentication.
Note
This meets common organizational requirements that are often grouped with SAML-style SSO policies; configuration is OIDC-specific.
Generic provider
Step 1: Register AEO with your OpenID Connect endpoint
Note
The process is endpoint-specific. Refer to your OpenID provider’s documentation.
Step 2: Create a user in AEO whose email address matches the email address of the user on file with the OpenID Connect server.
Step 3: Navigate to Integrations > OpenID Connect
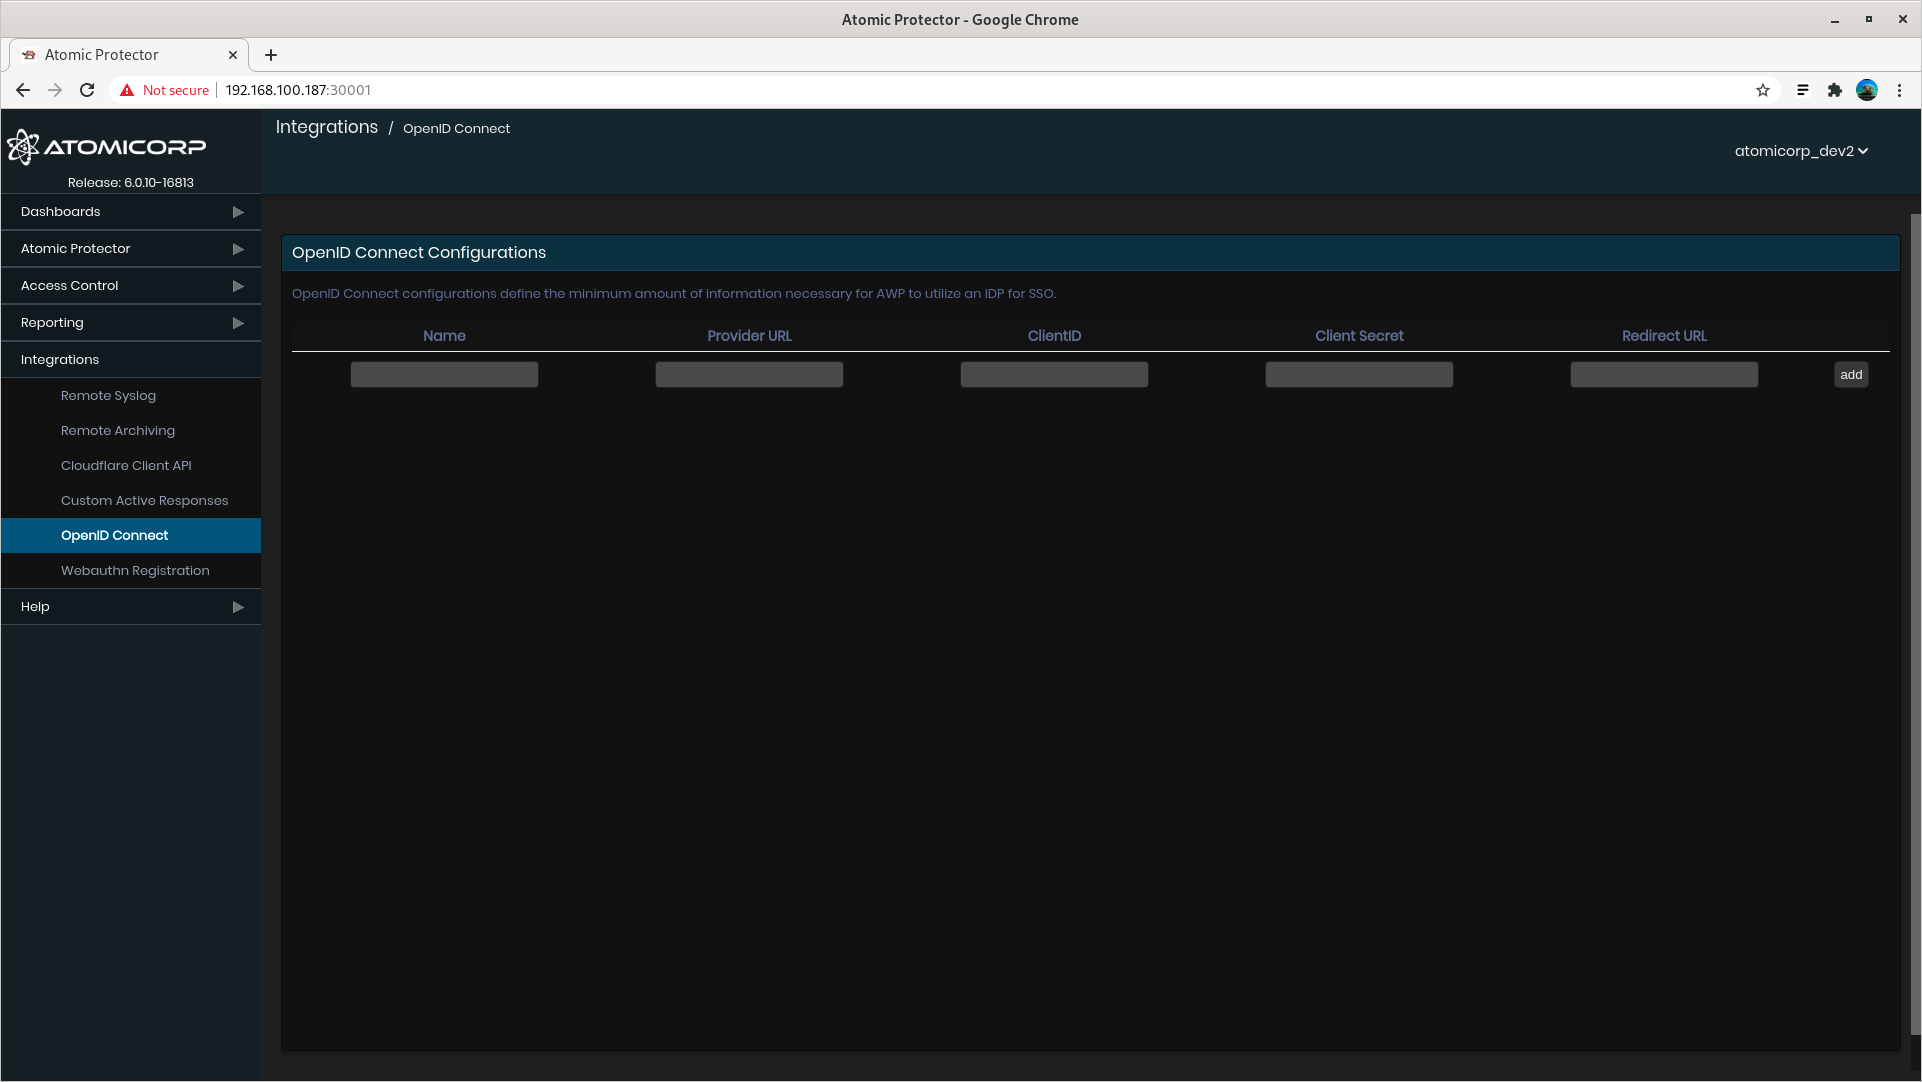
Step 4: Enter OpenID credentials
Name — Arbitrary label shown on the login page.
Provider URL — Your OpenID Connect issuer / endpoint (for example
https://openid.example.com/endpoint).Client ID, Client secret, and Redirect URL — Provided by the OpenID server when AEO is registered.
Examples (illustrative only):
Client ID:
894664563140-361jamgdp65eflek6mv8l11ifa2l05tf.app.website.comClient secret:
SV4bb77clx6m6Ntd_Z8df71SRedirect URL:
http://fakedomain:30001/auth/app/callback(legacy example; use the URL your provider and AEO version expect)
Okta
These are generic instructions; refer to Okta’s documentation for full detail.
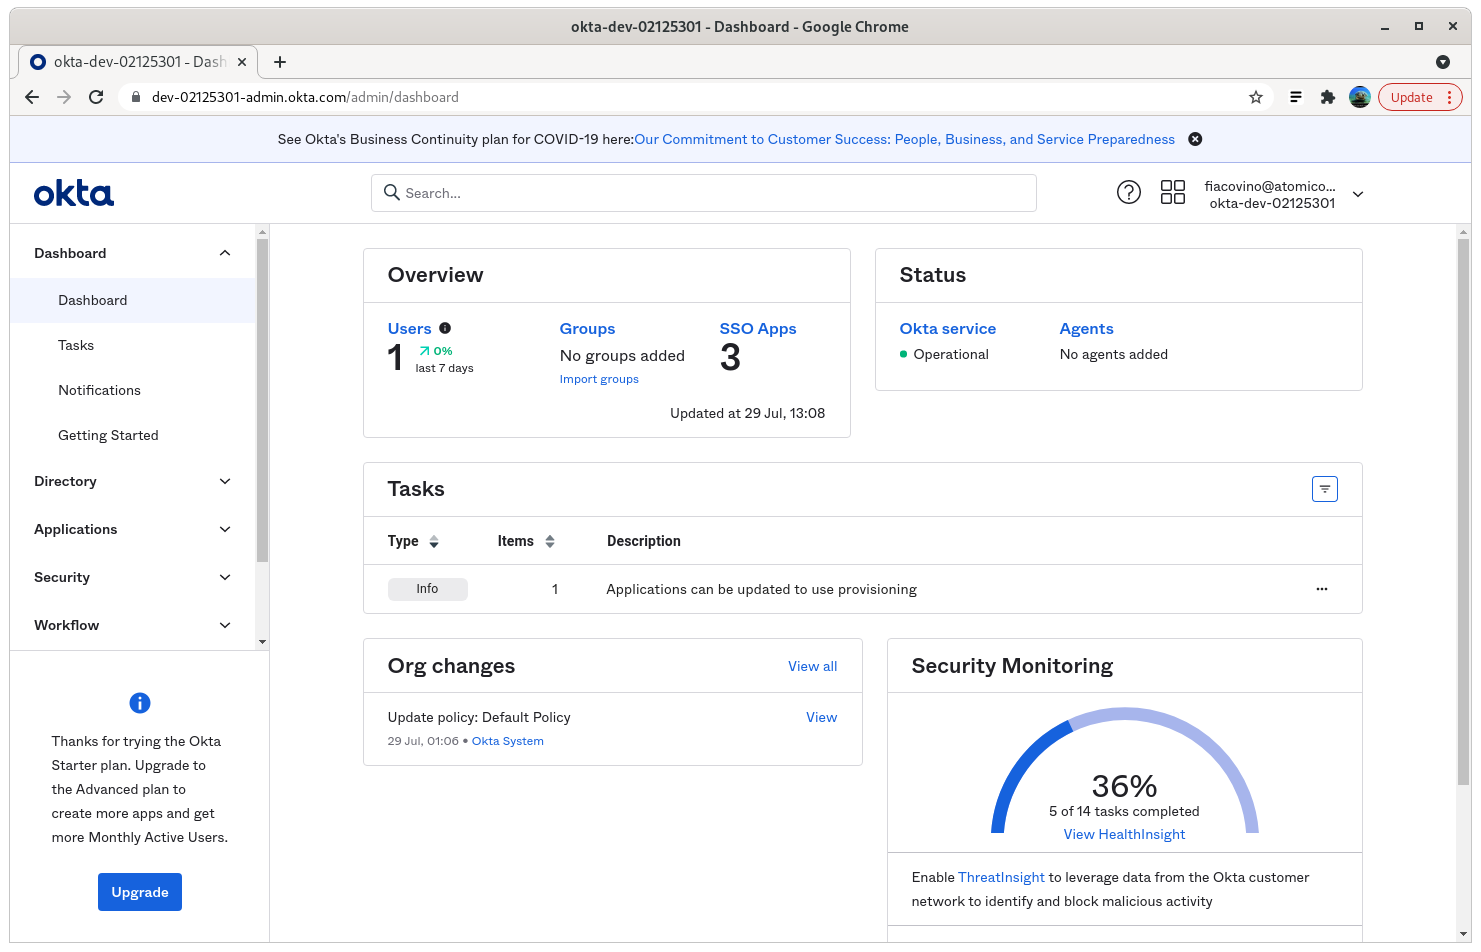
Step 1: Log in to your Okta admin domain (for example https://dev-12345678-admin.okta.com/).
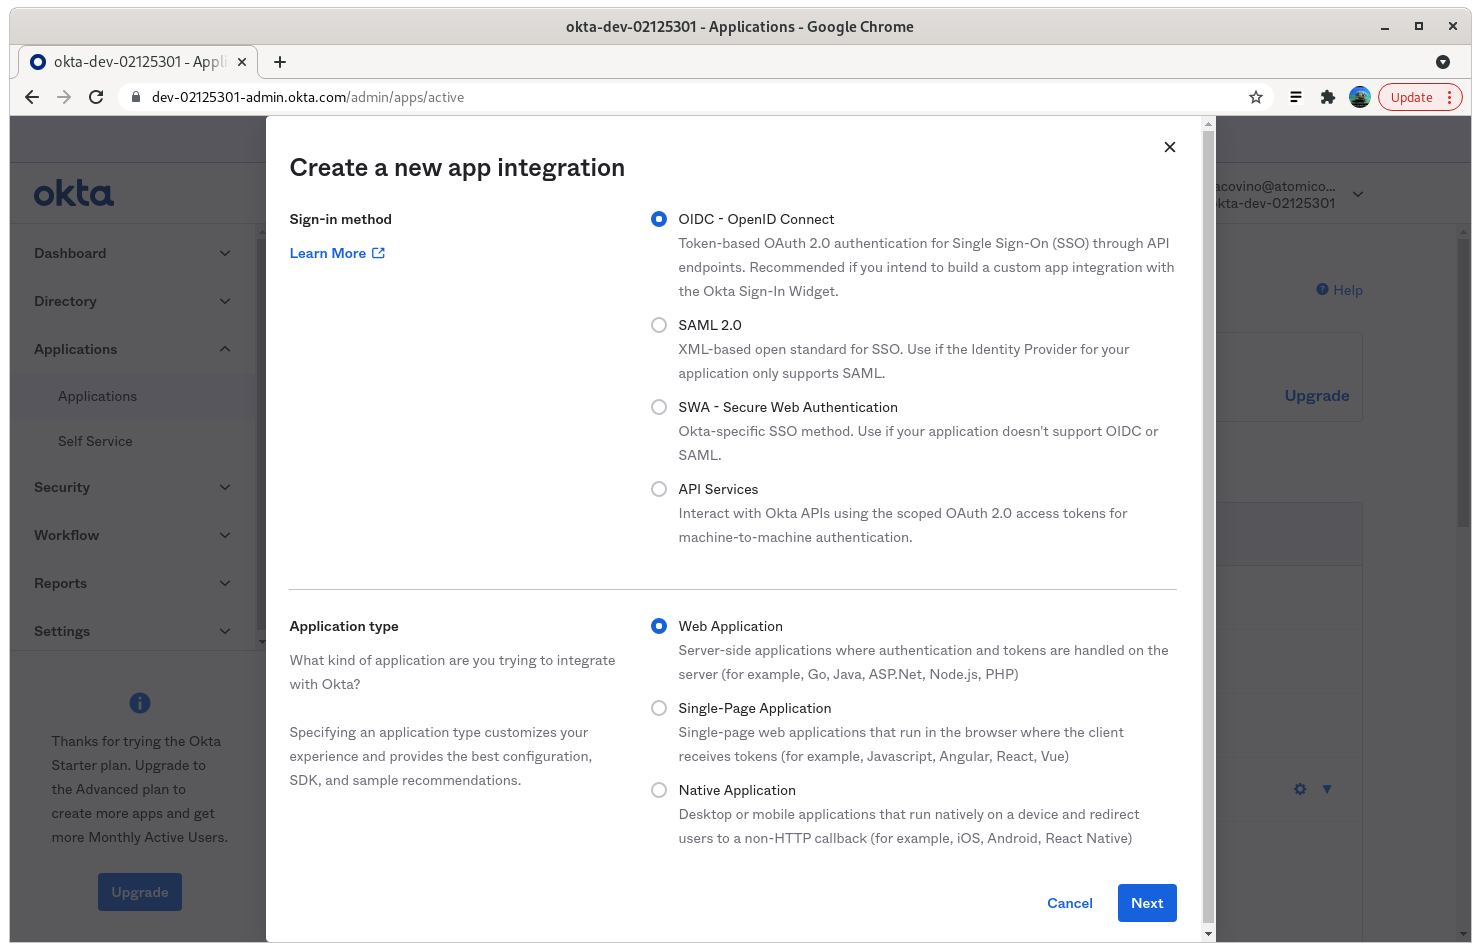
Step 2: Create App Integration
Step 3: Select OIDC - OpenID Connect, and Web Application
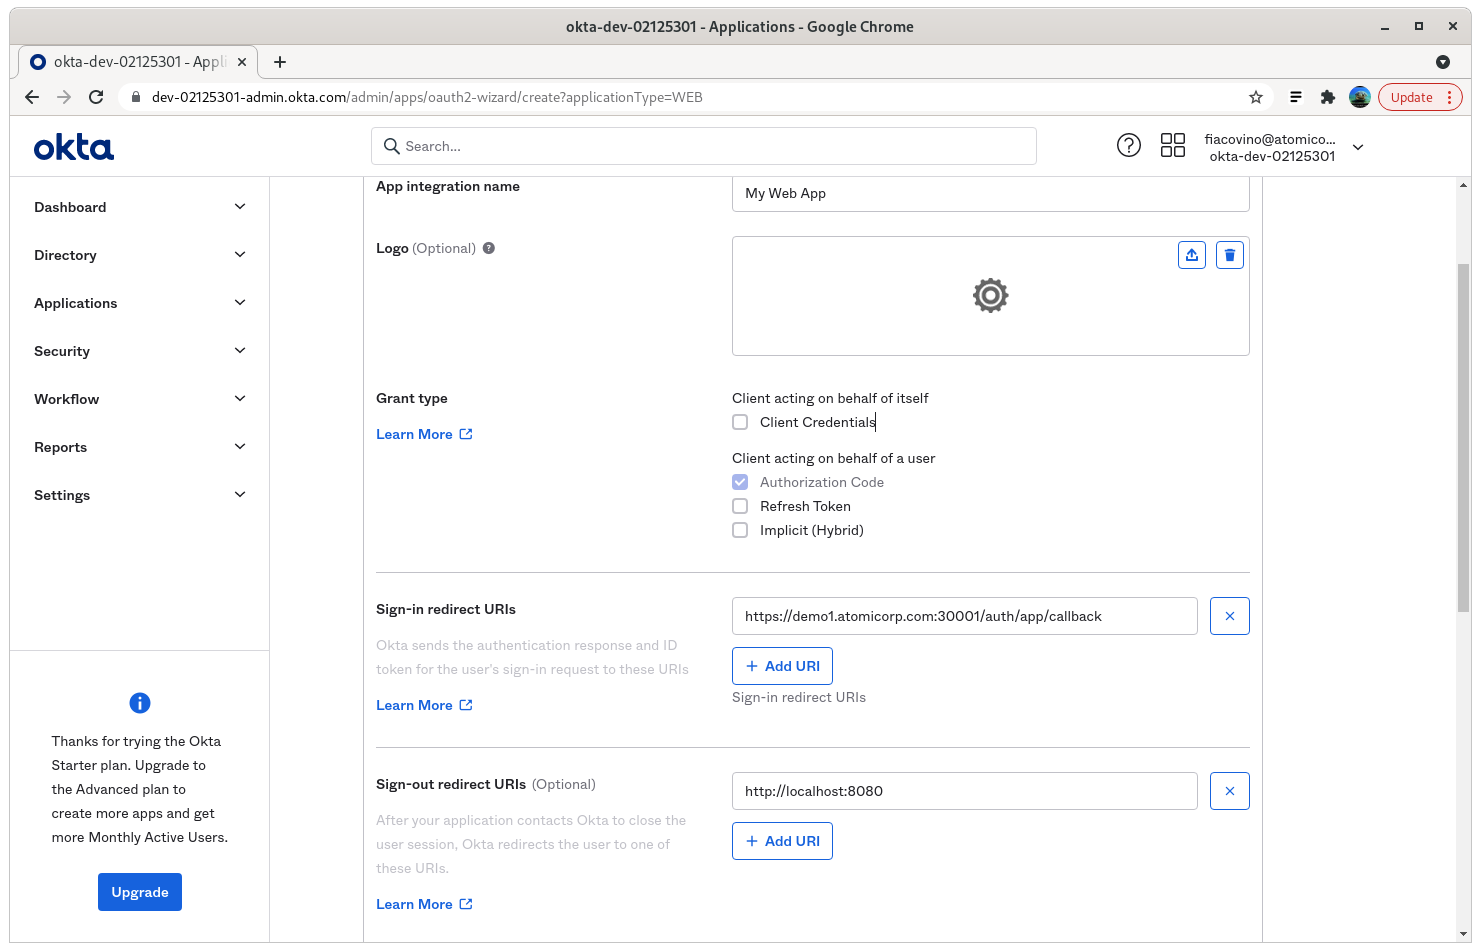
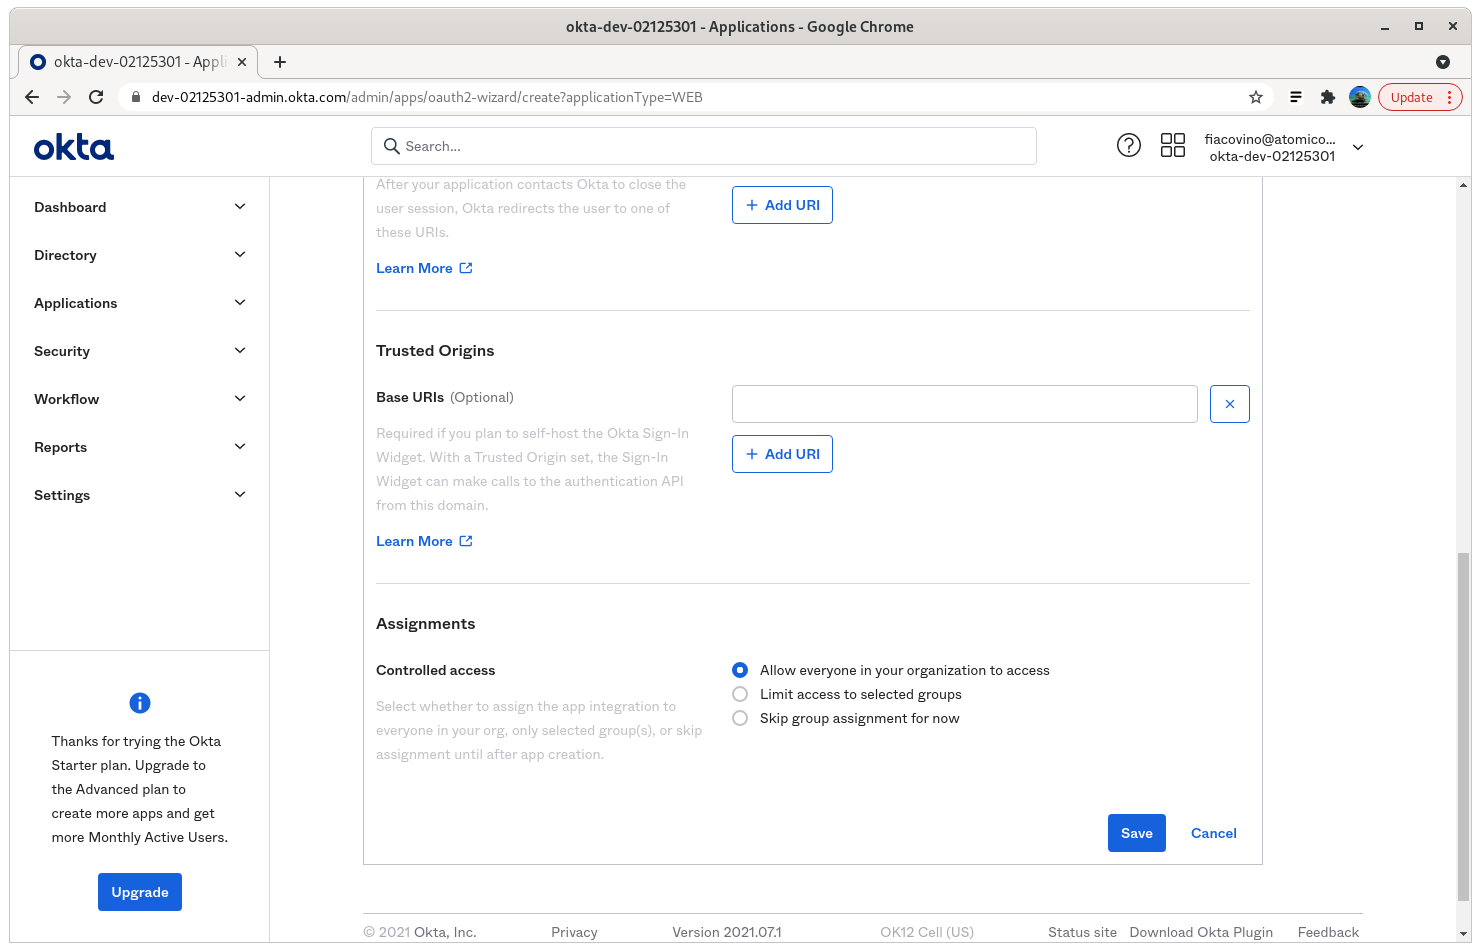
Step 4: Enter your application name and Sign-in redirect URIs
Sign-in redirect URI: https://your-aeo-server:30001/auth/app/callback
Step 5: Set Assignments appropriate for your organization.
In this example, access is allowed for everyone in the organization. The user account must still exist in AEO to sign in.
Step 6: Save and note the client ID and secret
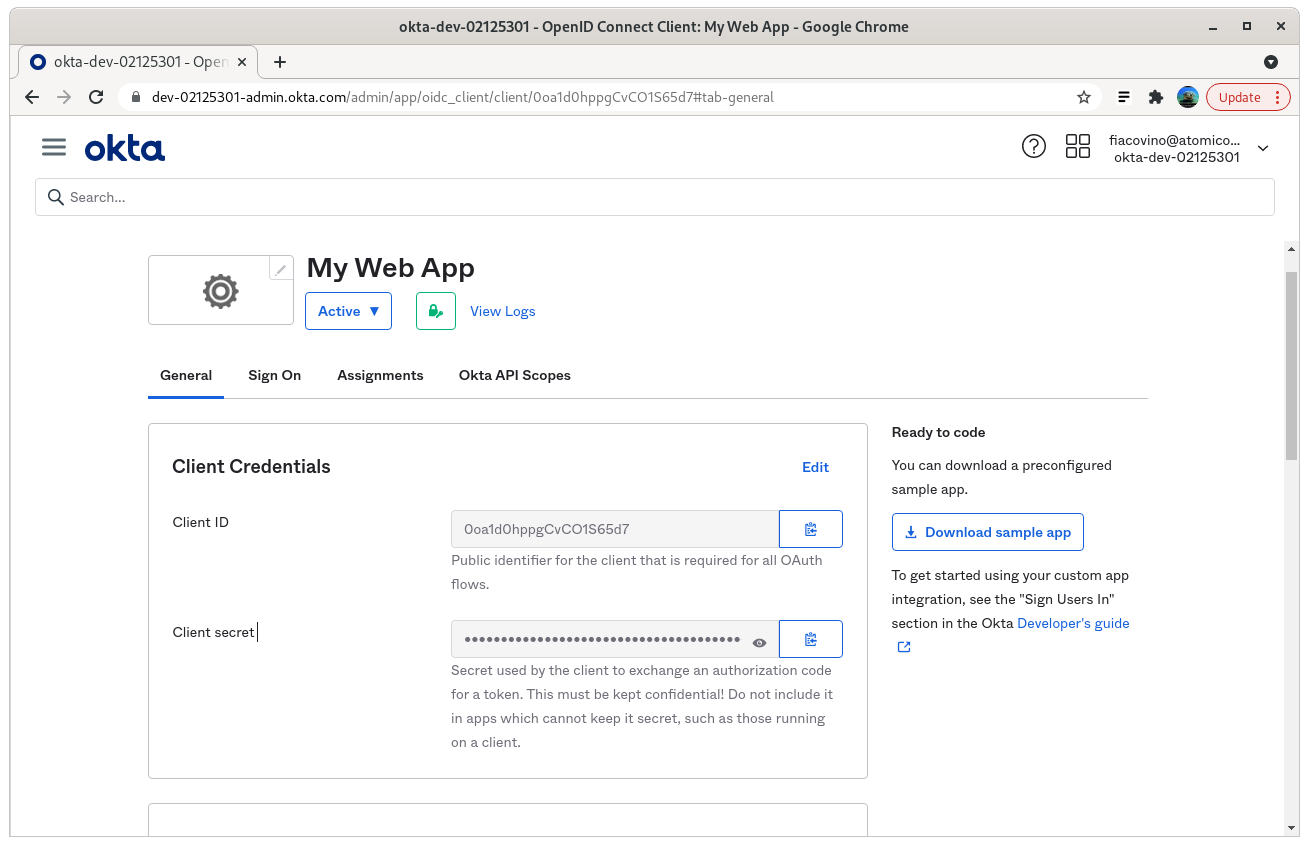
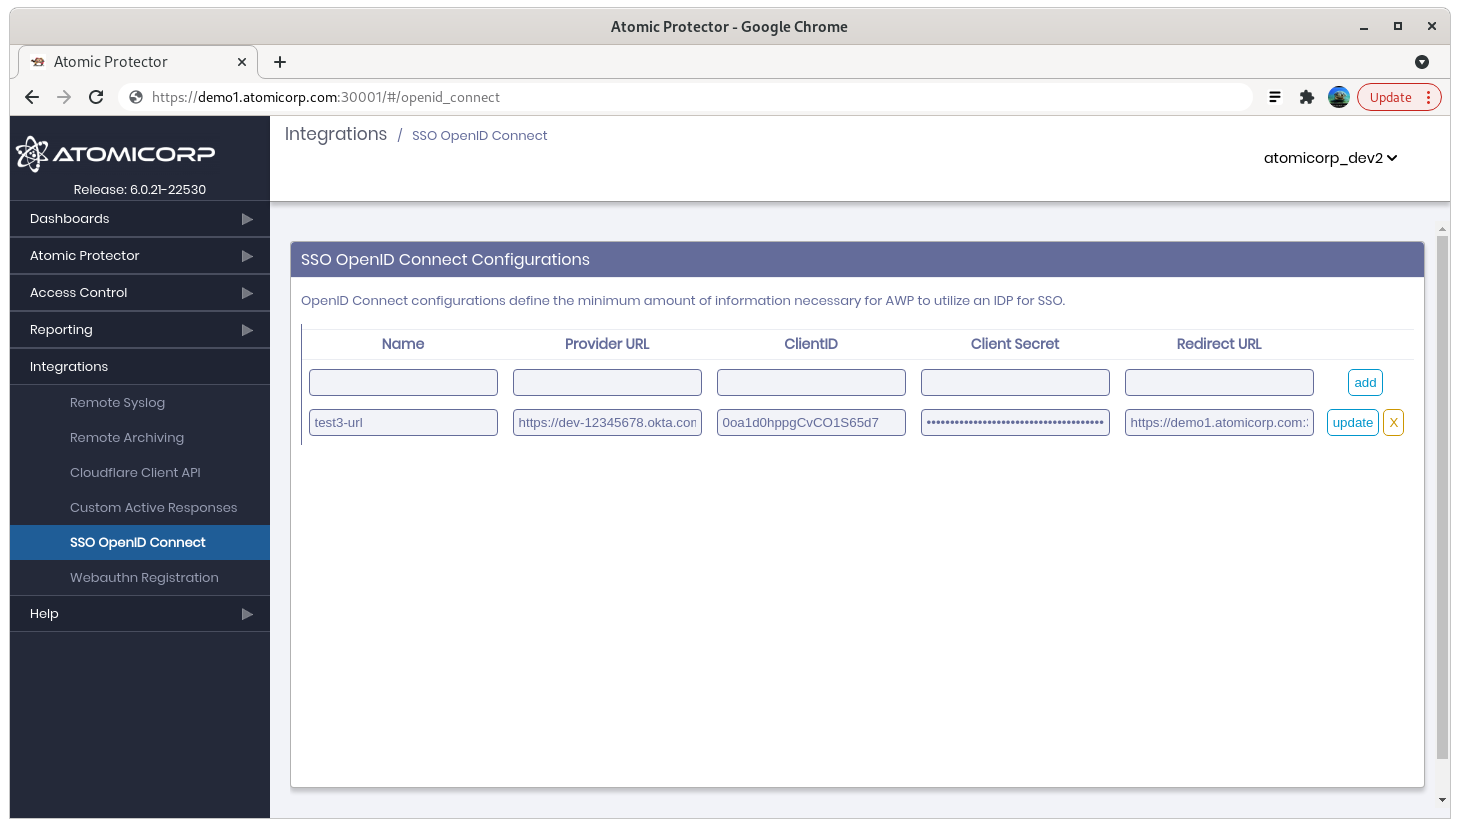
Step 7: In AEO, open Integration → SSO OpenID Connect
Name — Arbitrary label for the login page.
Provider URL — Okta issuer, typically
https://<tenant>.okta.com/oauth2/default(example:https://dev-12345678.okta.com/oauth2/default).Client ID / Client secret — From step 6.
Redirect URL —
https://your-aeo-server:30001/auth/app/callback
Step 8: Restart awpd
systemctl restart awpd
SSO troubleshooting
unable to match id token to application user: unable to find user with email username@domainname
The user exists in the identity provider but has not been created in the AEO console with the same email. Create the user in AEO or align email attributes.